With SURFconext Teams you can create and manage groups (Teams). Some services connected to SURFconext use this group information, e.g. to decide who is allowed access to the service (members of a certain Team are allowed in; others are denied) or to decide certain roles and rights within a service (e.g. members of a certain Team also have editing rights).
By using groups it becomes easier to manage rights and roles, since it is no longer necessary to do this within each separate service you use. Instead, services can reuse the group information.
This page describes how you can use SURFconext Teams.
Logging in to SURFconext Teams
To login to SURFconext Teams go to https://teams.surfconext.nl. You can either login via your own institution or using eduID. After logging in (through SURFconext) you will see a page which shows all teams you are a member of. If the page is empty, this means you haven't yet joined any team(s).
Joining an existing team
There are several ways to join an existing team.
1. Joining by accepting an invitation
If you received an invitation mail to join a certain Team, you can click 'Login to accept this invitation' to become a member of the Team.
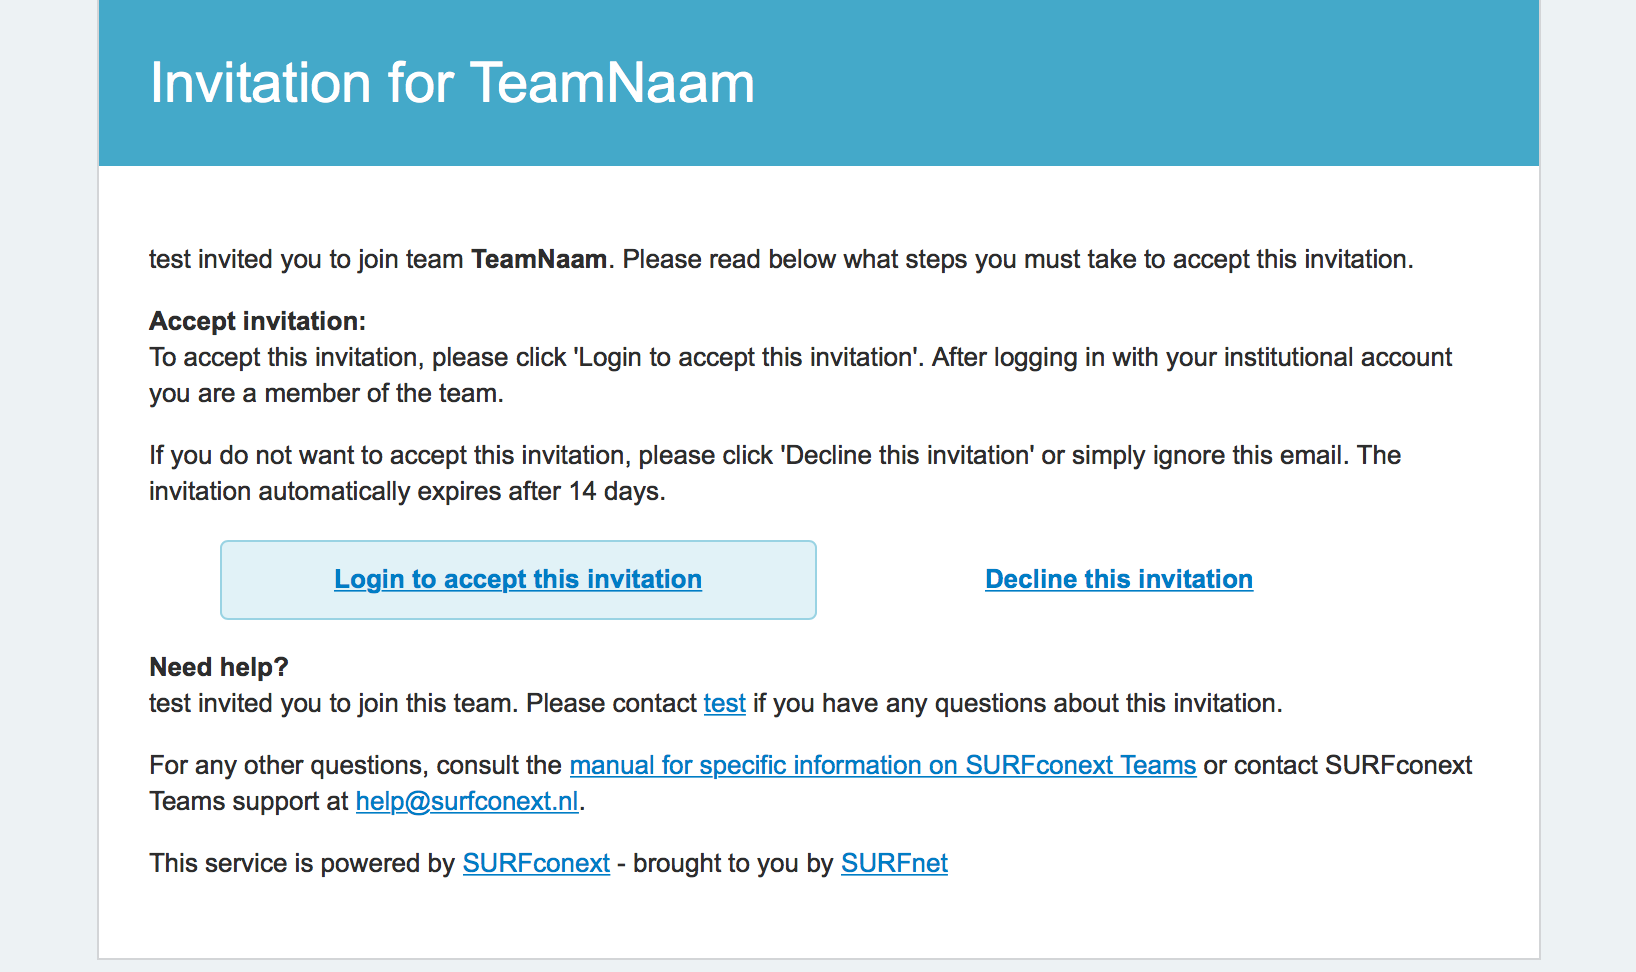
After clicking the link you are required to login via SURFconext, e.g. using your institutional account or through eduID.
After logging in you will see the screen below, which shows you certain information about the Team (e.g. the description of the Team and who are the administrators of that Team).

To join the team, click 'All good, show me the team'.
2. Joining a team by submitting a join request
Some teams are available publicly, which means instead of being invited by an administrator, everyone can become a member. There are 2 ways to do this.
2a. Finding and joining a Team using the search function
All Teams that are publicly available can be found through the search function. Find the Team you want to join and then press 'Join' to submit a join request.

An administrator has to approve your join request before you are actually a member.

2b. Join a Team using a Public Link
Team administrators can generate a Public Link for a Team. Anyone in possession of this link can join the Team, without separate approval of an administrator.
If you have a Public Link for a Team, open it in your favorite browser and login using your institutional account or eduID. You will then see the following page.
Click 'Accept' to join the Team instantly.
Creating a new Team
SURFconext Teams is being replaced with SURFconext Invite. Invite provides everything Teams can do, and more. Do not create new teams. Create new groups in Invite instead.
See: SURFconext Invite (EN).
Questions? Don't be afraid to ask support@surfconext.nl
Adding members
There are 2 different ways to add new members to your Team.
1. Adding new members - via mail invitation
First, you can send invitations via mail.
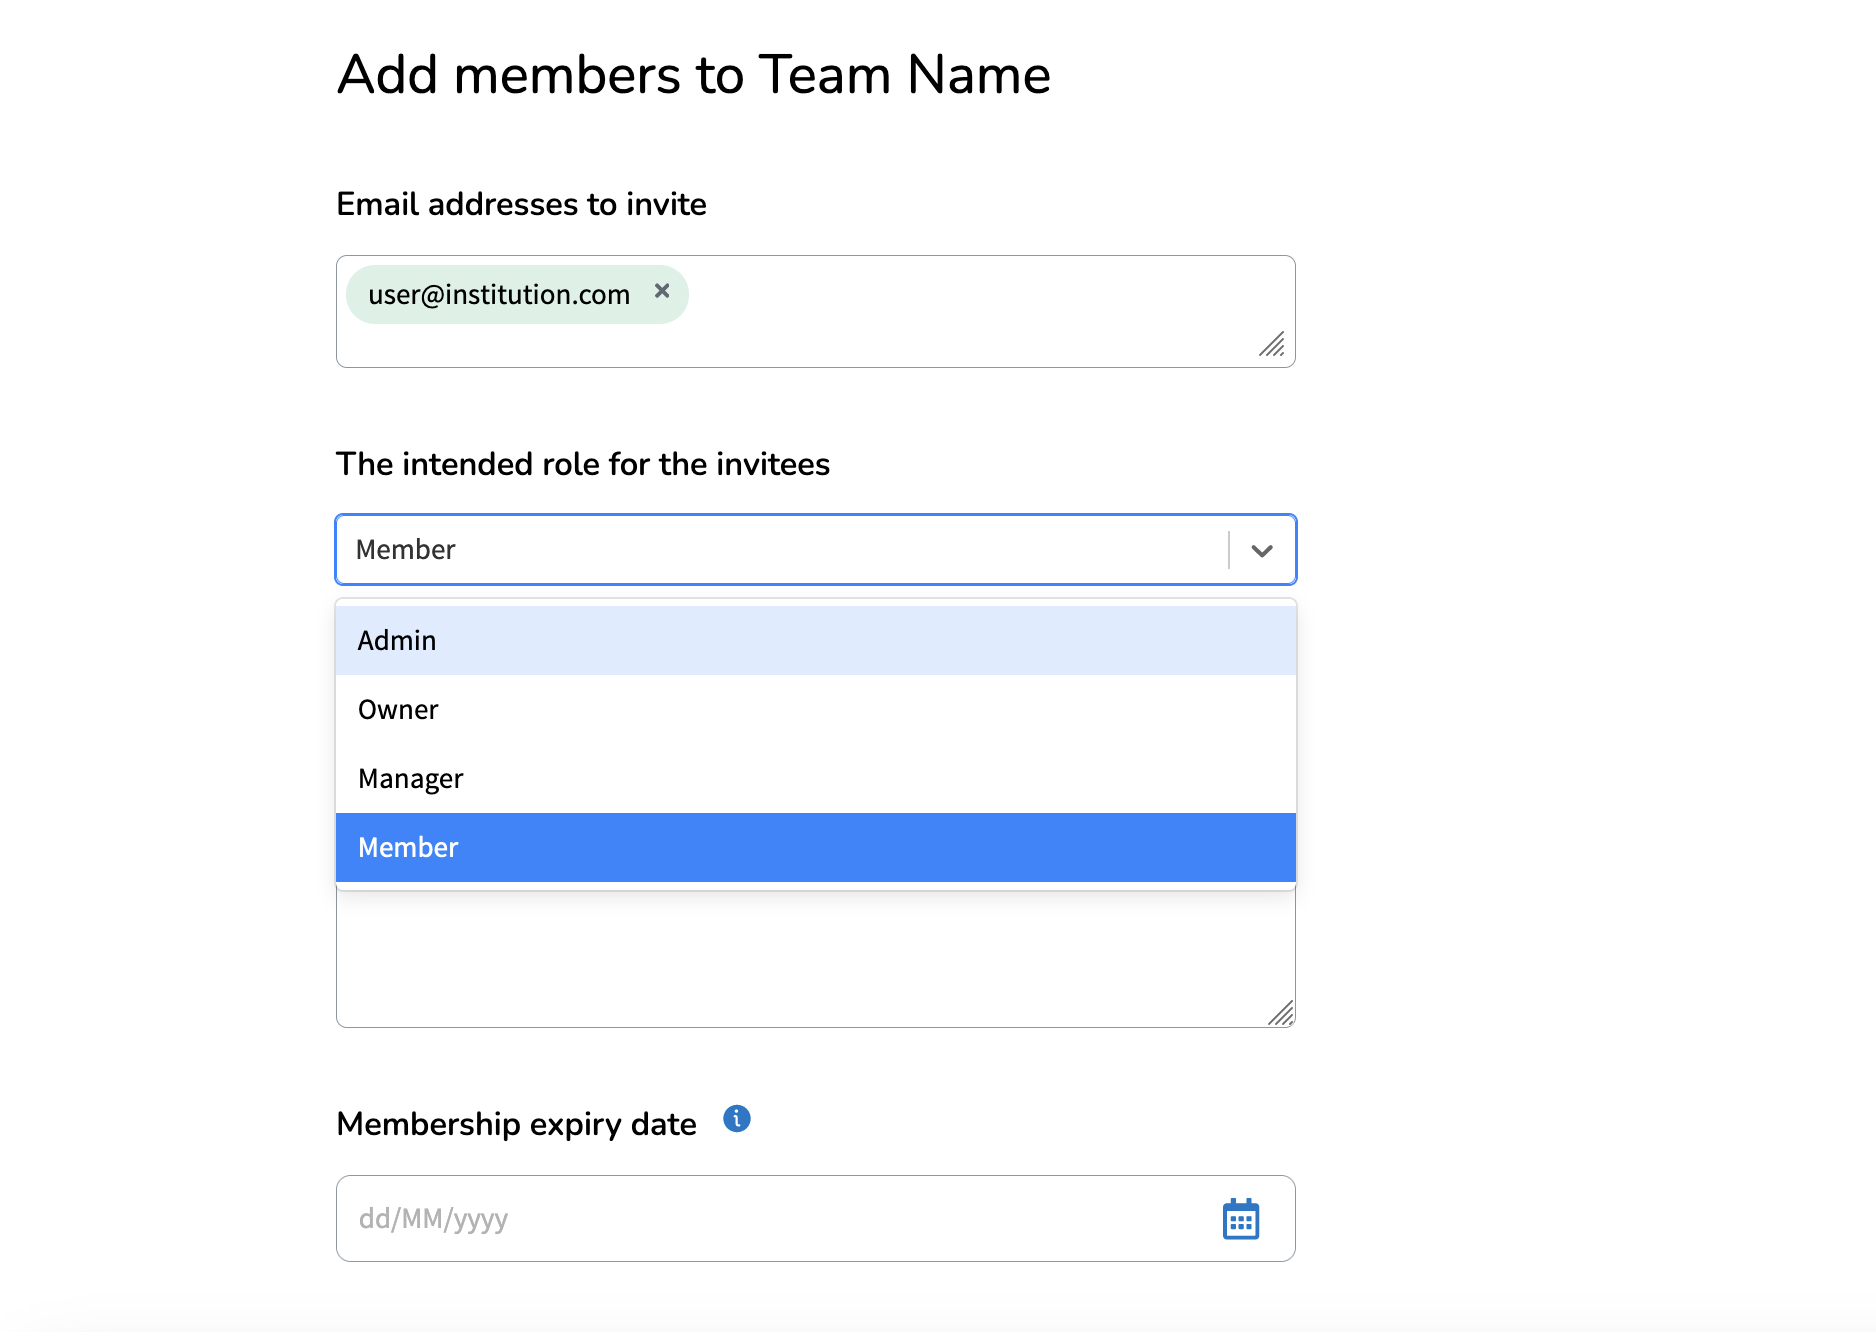
You can send multiple invitations at once by entering multiple email addresses, or you can upload a .csv file with all the email addresses you would like to invite. This option is particularly useful when a lot of people have to be added to the Team.
A .csv file consists of all email addresses separated with commas. You can create one with for example Notepad and enter the addresses like this:
name1@domain.nl,name2@domain.nl,name3@domain.nl,name4@domain.nl
When the message has been sent, the receiver has to open the email and click on a link to accept the invitation. The invitation will be active for 14 days. If the invitation is not accepted within 14 days, the invitation will automatically expire.
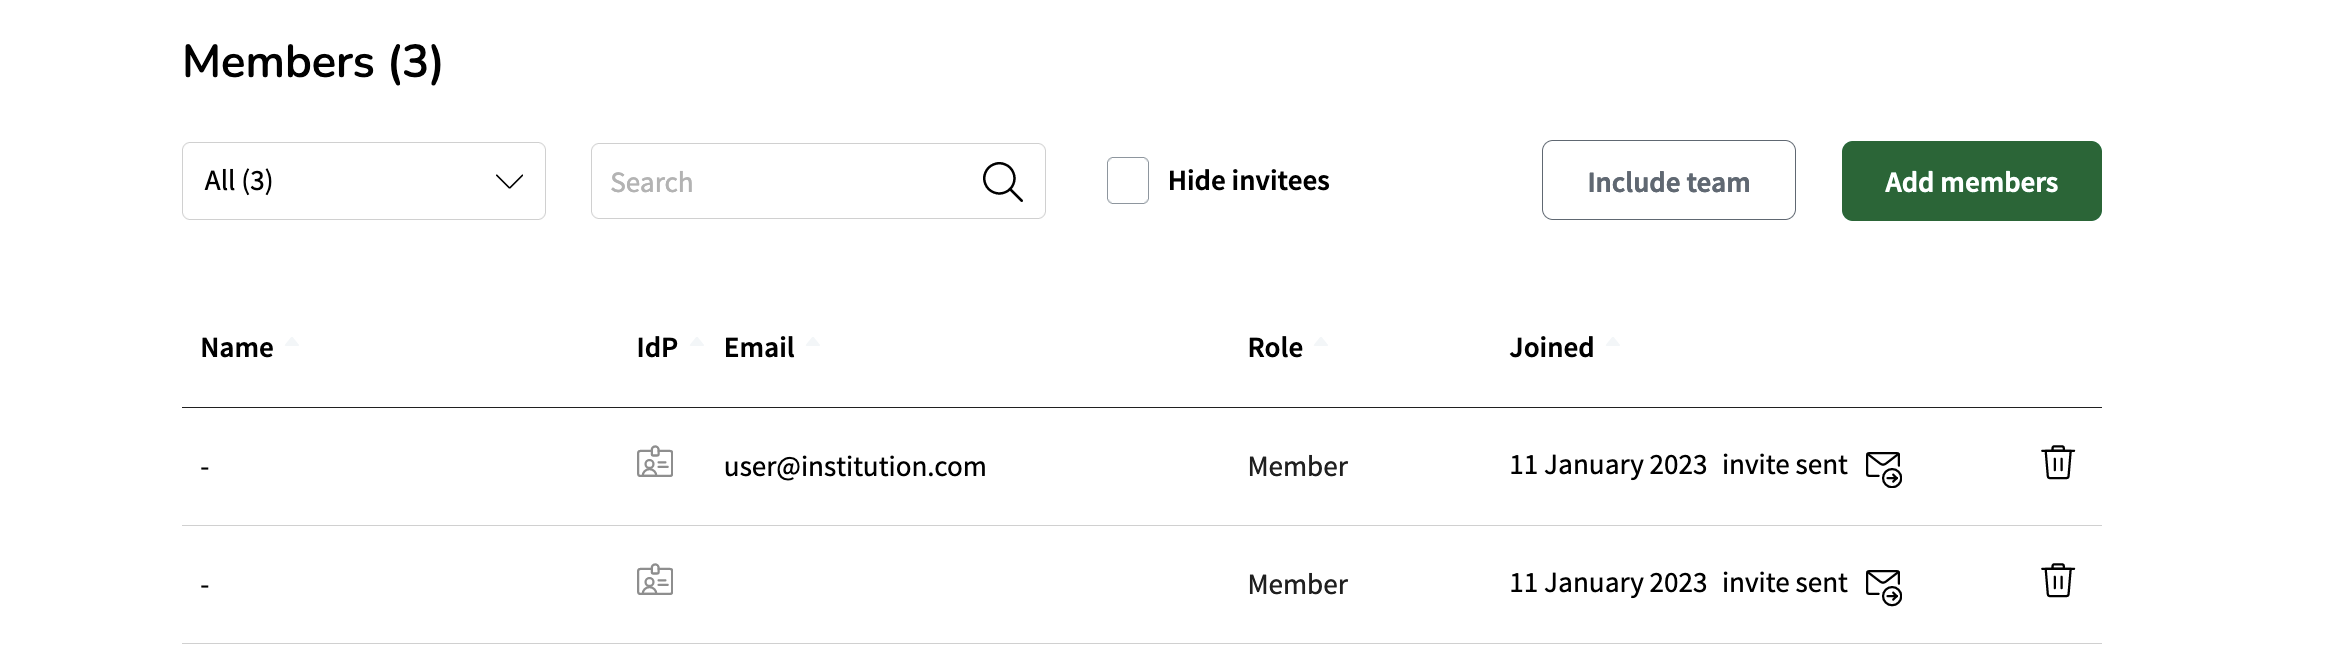
As an administrator you can click on a team to see pending invites. Here you can delete or resent the invitation.
2. Adding new members - via public link
You can also add new members via a 'public link'. As administrator of a Team, you can manually enable this feature. If enabled, anyone in possession of the public link is able to join the Team automatically.

If a user goes to the public link in his browser and logs in via SURFconext, your Team can be joined by clicking 'All good, show me the Team'.
Deleting team members
You have to be either an administrator to delete other Team members. Deleting team members is easy; just click the 3 dots next to a certain member and click 'Delete member'.
Deleting teams
To delete a Team, click the 'Delete' button in the upper right of the Team detail page.
Managing team roles
Whenever a person becomes a new member of your team, the role that is given to him is the ‘member’-role. In the table below you can see the rights that belong to a certain role in the team. A team must at least have one administrator (or owner) and cannot be empty (two administrators/owners is highly recommended). This means an administrator cannot leave the team, unless that person promotes at least one other person to administrator.
You can promote other members up to the same level as your own rights, but not any higher. So a Manager can make other members a Manager and an Administrator can make people Manager or Administrator.
Note: Guest users can not be promoted to an Administrator.
Role | Rights |
Member |
|
Manager |
|
Administrator |
|
| Owner |
|
When you change the role of a team member you will notice a notification bar appearing in the top of the screen saying “Role was added” or “ Role was removed”. There is no need for a Save button to be clicked, you will know that it is saved when you see the information bar appearing at the top of the screen.