Confluence will undergo scheduled maintenance on Wednesday, 19 June from 11:00 AM to 2:00 PM. During this period, Confluence will be unavailable. We apologize for any inconvenience and appreciate your understanding.
Login to the Research Cloud portal.
When you are a developer-member in one of your Collaborations (COs) you will see a downward arrow next to the "Catalog" tab.
(If you are not a developer, yet, see the Working Together section for more information on that.)
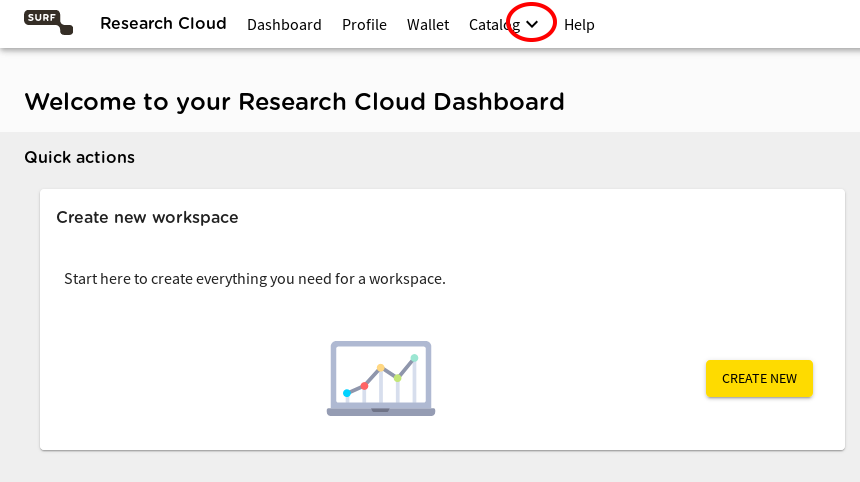
Clicking on this arrow renders a drop-down list:
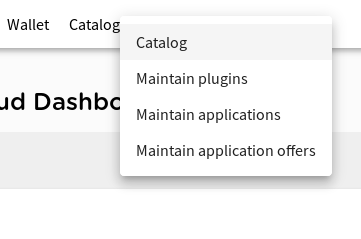
You can choose to activate the conventional "Catalog" tab, but you can also choose to view and edit the different catalog items.
See the section Catalog Introduction in order to see what the three different categories of catalog items mean.
If you want to create a new Application, click on the "Maintain applications" item.
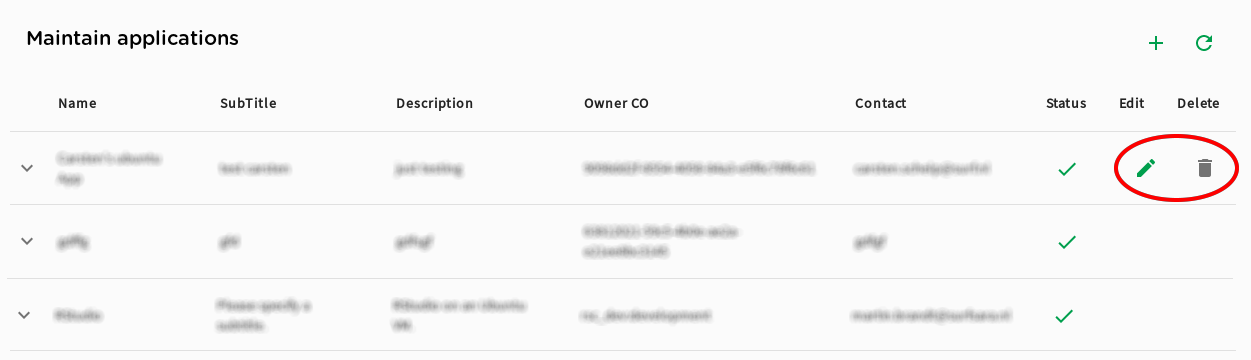
Your browser will show a list of the Applications that are available to you. "Available" means that either you are a member of a CO, that is allowed to use a particular Application or that you are a member of a CO that "owns" an Application.
The Applications you are one of the owners of will be shown with an extra "edit" and "delete" option (marked red):
But let's assume that you do not "own" any Applications, yet.
(More precisely: "None of the COs you are a developer in owns any Applications.")
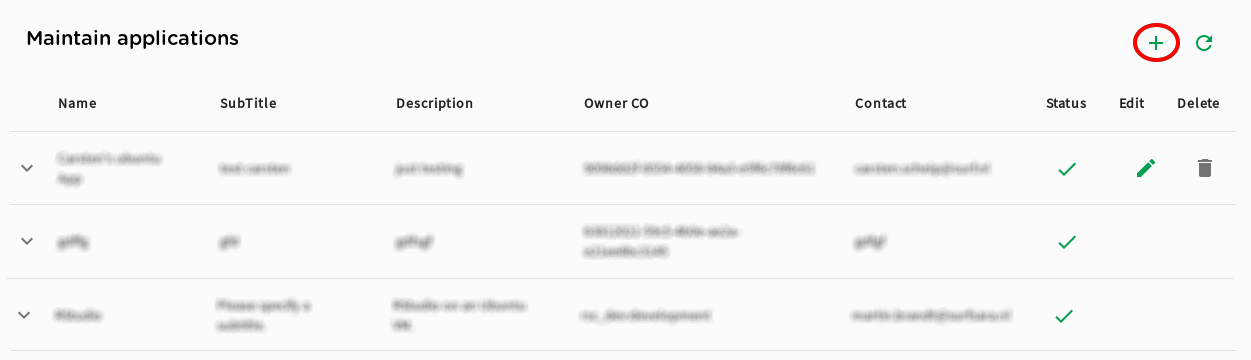
Being a developer in a CO, you can create a new Application for that CO.
Click on the "+" symbol in the upper right of the page:
An "Add application" mask is displayed within the existing list:

Here, you can fill in the properties of your new Application.
- Name: A short and significant name that reflects the purpose of the Application.
- Subtitle: A still short complement to the name. The subtitle will often be displayed along with the name.
- Description: A (possibly extended) description of the Application.
- Icon: The base64-string-representation of the icon for your Application. Please take the effort to enter a recognizable icon - it helps you and your users. You can convert image files to base64 strings with online-tools like https://www.base64-image.de/ or https://www.base64encoder.io/image-to-base64-converter/
- Contact name: Persons(s) to contact for questions and requests.
- Contact e-mail: e-mail addresses for questions and requests.
- Contact website: the url of a public site for documentation and support for the Application. Especially when your app has a sizeable user base, a good support page will both enhance your user's experience and lower the support-load for you.
- Type: For now, always use "COMPUTE".
- CO owner: Select the CO from which you want to further develop, maintain and share this Application. All members of the owner CO, also non-developers will be able to see and use the Application.
- Allowed COs: From the COs you are a developer in, compose a list of COs that are allowed to see and use the Plugin. The owner CO is a part of this list, automatically.
- Application status: This should be "active". Under normal circumstances, you wouldn't want it to be "disabled".
Application Plugins
When you click on the "Edit" icon next to "Application plugins" a list composition dialog will appear:

This is where you can compose the your actual Application.
On the left, all available Plugins are shown. From here, you can drag Plugins to the right part of the dialog in order to assemble this Application's list of Plugins.
When a workspace for this Application is started, the Plugins will we be run in the order you specify here.
When the list is ready, click the "SAVE" button to attach the list to the Application.
In order to get started just inspect the Plugin-lists of other Applications and take over the first few Plugins in your own Application. This will give you a solid base to build the Application that you need.
Application Parameters
The usage of parameters is explained on an extra page: Using Parameters.
You do not necessarily need parameters when starting to create Applications.
Finish with "SUBMIT"
Click on "Submit" to save the new Application. Make sure that it now appears in the total list of Applications and that you can see an "Edit" and a "Delete" icon for it.
You can change all the properties of the Application, later on. Just click on its "Edit" icon in the list.